1. Sometimes, we need play our interactive presentation automatically, but this is the interactive presentation, how to do it? Aurora 3D Presentation provided Rehearse Timings function, we can use it to realize our purpose.
When we completed our presentation, we can click “Rehearse Timings” button. Then we will enter the Rehearsal model, we can play the presentation by ourselves and check the times.
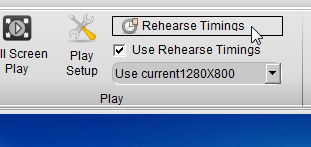
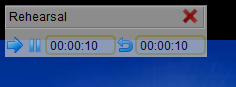
2. When we complete the rehearsal, we can press “ESC” on the keyboard, then we will get a dialog: “The total time for the slide show was 00:12:05 Do you want to keep the new slide timings to use when you view the slide show?”, we need click Yes at here.
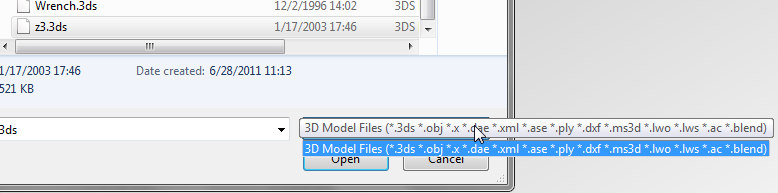
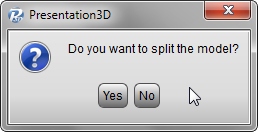
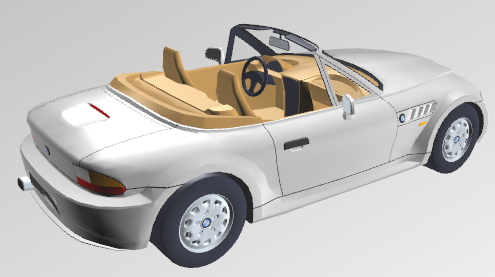
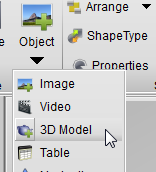 1. Aurora 3D Presentation can import 3D Model, change the color, texture, size and make some interactive animation for it. You can learn how to import and change the color and texture in this guide.